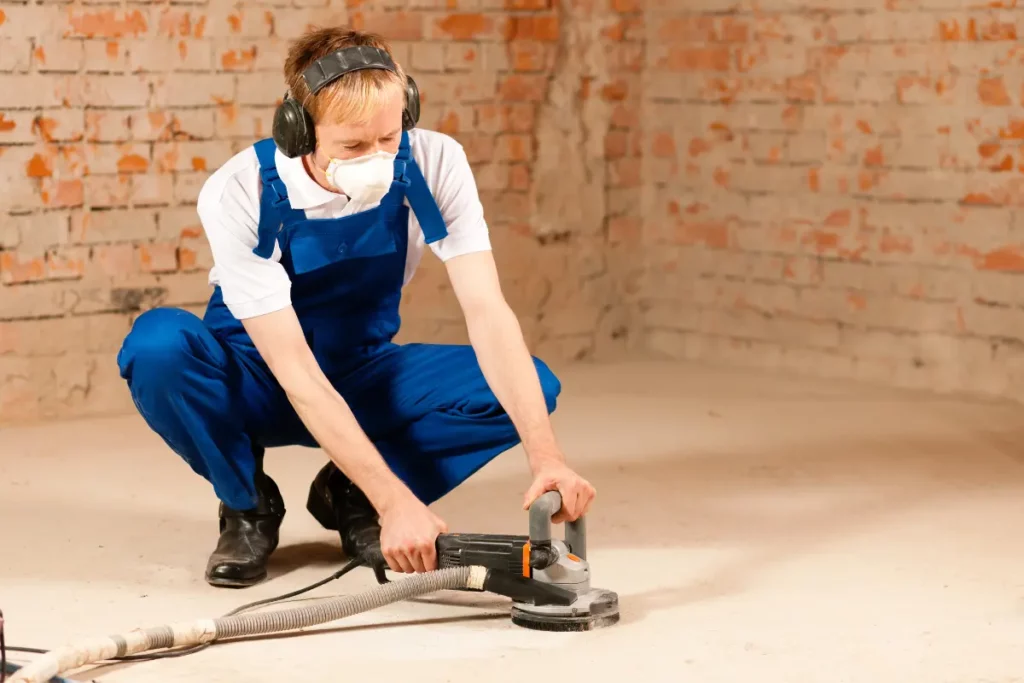
So, you’ve just had your floors professionally sanded, and they’re looking sleek and refreshed. But, the journey doesn’t end there. Proper care and maintenance are crucial to ensure your floors retain that polished look for years to come. In this guide, we’ll delve into practical tips and tricks to keep your floors in top-notch condition without the fluff.
The Initial Days – Bask in the Glory but Tread Lightly
After the floor sanding Wandsworth process, your floors need a bit of time to settle. Avoid heavy traffic and be cautious about furniture placement. Consider using felt pads under furniture legs to prevent scratches.
Gentle Giants: Daily Cleaning Dos and Don’ts
- Sweep Regularly: Make a gentle sweep part of your daily routine. This removes dust and debris that can scratch your shiny floors.
- Damp Mop with Care: A damp mop is your friend, but not a sopping one. Excess water can seep into the wood, causing damage. Use a well-wrung mop for the perfect balance.
- Avoid Harsh Chemicals: Stick to mild, pH-neutral cleaners. Harsh chemicals can strip away the protective layers and diminish the lustre of your floors.
TLC for Your Floors: Deep Cleaning Tips
- Choose the Right Products: When it’s time for a deeper clean, opt for products specifically designed for your floor type. Read labels and follow instructions diligently.
- Gentle Scrubbing: For stubborn stains, a soft-bristle brush can work wonders. Be gentle to avoid scratching the surface.
- Reapply Finish When Needed: Over time, the protective finish on your floors may wear off. Keep an eye out for signs like water no longer beading on the surface. When needed, consider reapplying a compatible finish.
Shielding Your Floors from Wear and Tear
Placing entrance mats at doorways prevents dirt and grit from being tracked inside. This simple step goes a long way in preserving your floor’s sheen.
Wood is sensitive to changes in humidity. Maintain a consistent humidity level in your home to prevent your floors from warping or contracting.
Partnering with Your Furniture
Furniture Pads: Those little felt pads aren’t just for show. They act as a buffer between your furniture and the floor, preventing scratches and scuffs.
Lift, Don’t Drag: When rearranging furniture, lift it instead of dragging. This avoids unnecessary abrasion and maintains the integrity of your floors.
Addressing Wear and Tear – Nipping Issues in the Bud
Even with the best precautions, scratches happen. When they do, address them promptly. For minor scratches, consider using a touch-up kit recommended by your flooring professional.
Periodically, have your floors inspected by professionals. They can identify potential issues early on and provide solutions to keep your floors looking their best.
Sunlight and Your Floors – A Love-Hate Relationship with Sunshine
Prolonged exposure to direct sunlight can cause your floors to fade over time. Consider using curtains, blinds, or UV-blocking films to shield your floors during peak sunlight hours.
If possible, periodically rotate rugs and furniture to ensure an even distribution of sunlight exposure. This helps prevent uneven fading and keeps your floors looking uniform.
Paw Prints and Claws: Navigating Pet-Friendly Maintenance
- Trim Pet Nails: Long nails can leave scratches and dents on your beautiful floors. Regularly trim your pets’ nails to minimize the impact.
- Pet-Friendly Rugs: Strategically placing rugs in areas frequented by your pets can provide an additional layer of protection. Choose rugs that are easy to clean and resistant to stains.
- Clean Accidents Promptly: Accidents happen. When they do, clean them promptly to prevent stains and damage. Use pet-friendly cleaning products to ensure the safety of your furry friends.
Tailoring Care to the Seasons
Winter Precautions: In colder climates, be cautious about tracked-in snow and ice melt. Place a mat near entrances and promptly clean up any moisture to prevent damage.
Summer Hydration: Wood contracts in dry conditions. In hot and arid climates, consider using a humidifier to maintain optimal humidity levels and prevent your floors from drying out.
Your DIY Toolkit for Small Repairs
Keep a scratch repair kit on hand for quick fixes. These kits typically include touch-up markers or crayons that can help conceal minor scratches. For small imperfections, like shallow scratches or tiny dents, use wax or putty that matches your floor colour. Apply it carefully to fill the gaps and create a seamless appearance.
Conclusion: Keeping the Spark Alive
Maintaining the sleekness of your professionally sanded floors is a journey, not a one-time event. With a consistent cleaning routine, protective measures, and a bit of vigilance, your floors can continue to shine for years. So, embrace these simple practices, and let your floors be a testament to your dedication to a beautiful home.


